


Hey there! I'm a supplier of steel light poles, and I often get asked about how to install a light fixture on a steel light pole. It might seem like a daunting task, but with the right steps and a bit of know - how, you can get it done smoothly. In this blog, I'll walk you through the whole process.
Before You Start
First things first, safety is super important. You'll need to gather the right tools and materials. Here's a list of what you'll typically need:
- A ladder that's tall enough to reach the top of the light pole. Make sure it's stable and in good condition.
- Safety gear like gloves and safety glasses. You don't want any debris getting in your eyes or your hands getting scratched.
- Screwdrivers (both flat - head and Phillips - head, depending on the type of screws on the light fixture).
- A wire stripper to expose the wires for connection.
- A voltage tester to check if the power is off before you start working on the electrical connections.
- Of course, the light fixture itself. We offer a variety of high - quality light fixtures that are compatible with our Street Light Pole Solar, Tapered Steel Pole, and Stainless Steel Light Pole.
Step 1: Power Off
The very first step is to turn off the power supply to the light pole. This is crucial for your safety. You can usually find the circuit breaker for the light pole in the electrical panel. Once you've located it, switch it off. Use a voltage tester to double - check that there's no power running through the wires. This simple step can prevent serious electrical accidents.
Step 2: Prepare the Light Fixture
Take a good look at your light fixture. Read the manufacturer's instructions carefully. Some fixtures come pre - assembled, while others might need a bit of setup. If there are any parts that need to be put together, do it now. Make sure all the screws are tightened properly, and any lenses or covers are securely attached.
Step 3: Climb the Ladder
Once you're sure the power is off and the fixture is ready, it's time to climb the ladder. Make sure the ladder is placed on a flat and stable surface. Have someone hold the base of the ladder for extra safety if possible. Ascend the ladder slowly and carefully, and keep your tools within easy reach.
Step 4: Remove the Old Fixture (if applicable)
If there's an old light fixture on the pole, you'll need to remove it first. Start by unscrewing the mounting bolts or screws that hold the fixture in place. Be careful not to drop any of the parts. Once the bolts are removed, gently lower the old fixture down the ladder.
Step 5: Mount the New Fixture
Now it's time to mount the new light fixture. Line up the mounting holes on the fixture with the holes on the light pole. Insert the mounting bolts or screws through the holes and tighten them using a screwdriver or a wrench. Make sure the fixture is level and secure. You don't want it to wobble or fall off later.
Step 6: Electrical Connections
This is a critical step. You need to connect the wires from the light fixture to the wires in the light pole. First, strip about half an inch of insulation from the ends of the wires using a wire stripper. Match the colors of the wires. Usually, black is for hot, white is for neutral, and green or bare copper is for ground. Twist the corresponding wires together and cover the connections with wire nuts. Make sure the wire nuts are tightened firmly to prevent any loose connections.
Step 7: Test the Connection
Before you fully secure the fixture and come down from the ladder, it's a good idea to test the connection. Turn the power back on at the circuit breaker. Use a voltage tester to check if there's power at the fixture. If the light comes on, great! If not, turn the power off again and double - check your connections.
Step 8: Secure the Fixture Completely
Once you're satisfied with the electrical connection and the light is working, it's time to make sure the fixture is fully secured. Check all the mounting bolts again to ensure they're tight. If there are any covers or access panels on the fixture, put them back in place.
Step 9: Clean Up
Climb down the ladder carefully. Collect all your tools and clean up any debris or packaging materials. You can recycle the old light fixture if possible.

Why Choose Our Steel Light Poles
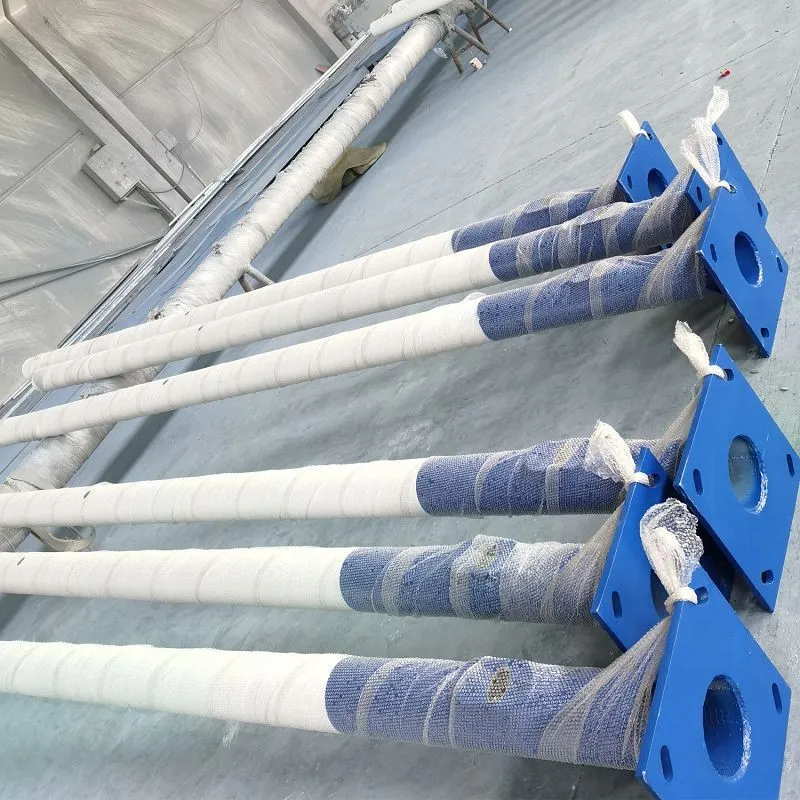
As a steel light pole supplier, we take pride in offering top - quality products. Our Street Light Pole Solar is energy - efficient and perfect for outdoor lighting in areas where access to electricity might be limited. The Tapered Steel Pole provides a sleek and modern look, while the Stainless Steel Light Pole is highly durable and resistant to corrosion.
If you're in the market for steel light poles or have any questions about the installation process, don't hesitate to reach out. We're here to help you with all your lighting needs. Whether you're a contractor working on a large - scale project or a homeowner looking to improve your outdoor lighting, we've got the right products for you.
Conclusion
Installing a light fixture on a steel light pole isn't as hard as it might seem. By following these steps and taking the necessary safety precautions, you can have your new light up and running in no time. And if you need high - quality steel light poles, we're just a message away. So, what are you waiting for? Let's brighten up your world together!
References
- General knowledge from years of experience in the steel light pole supply industry.
- Manufacturer's instructions for light fixtures and steel light poles.
